EDIT FILES AND APPLY PROCESSES
In this section you’ll see how you can edit the name of a file and the general way you can apply processes to files.
- Video chapters
0:00 Managing filenames
5:10 Delete files
6:30 Applying processes to files
Edit file name
The name of a file in the BIDS is determined by a set of stringent rules and specifications. The filename is build-up of key and value pairs, separated by dashes (-), and these key-value pairs are concatenated by underscores (_).
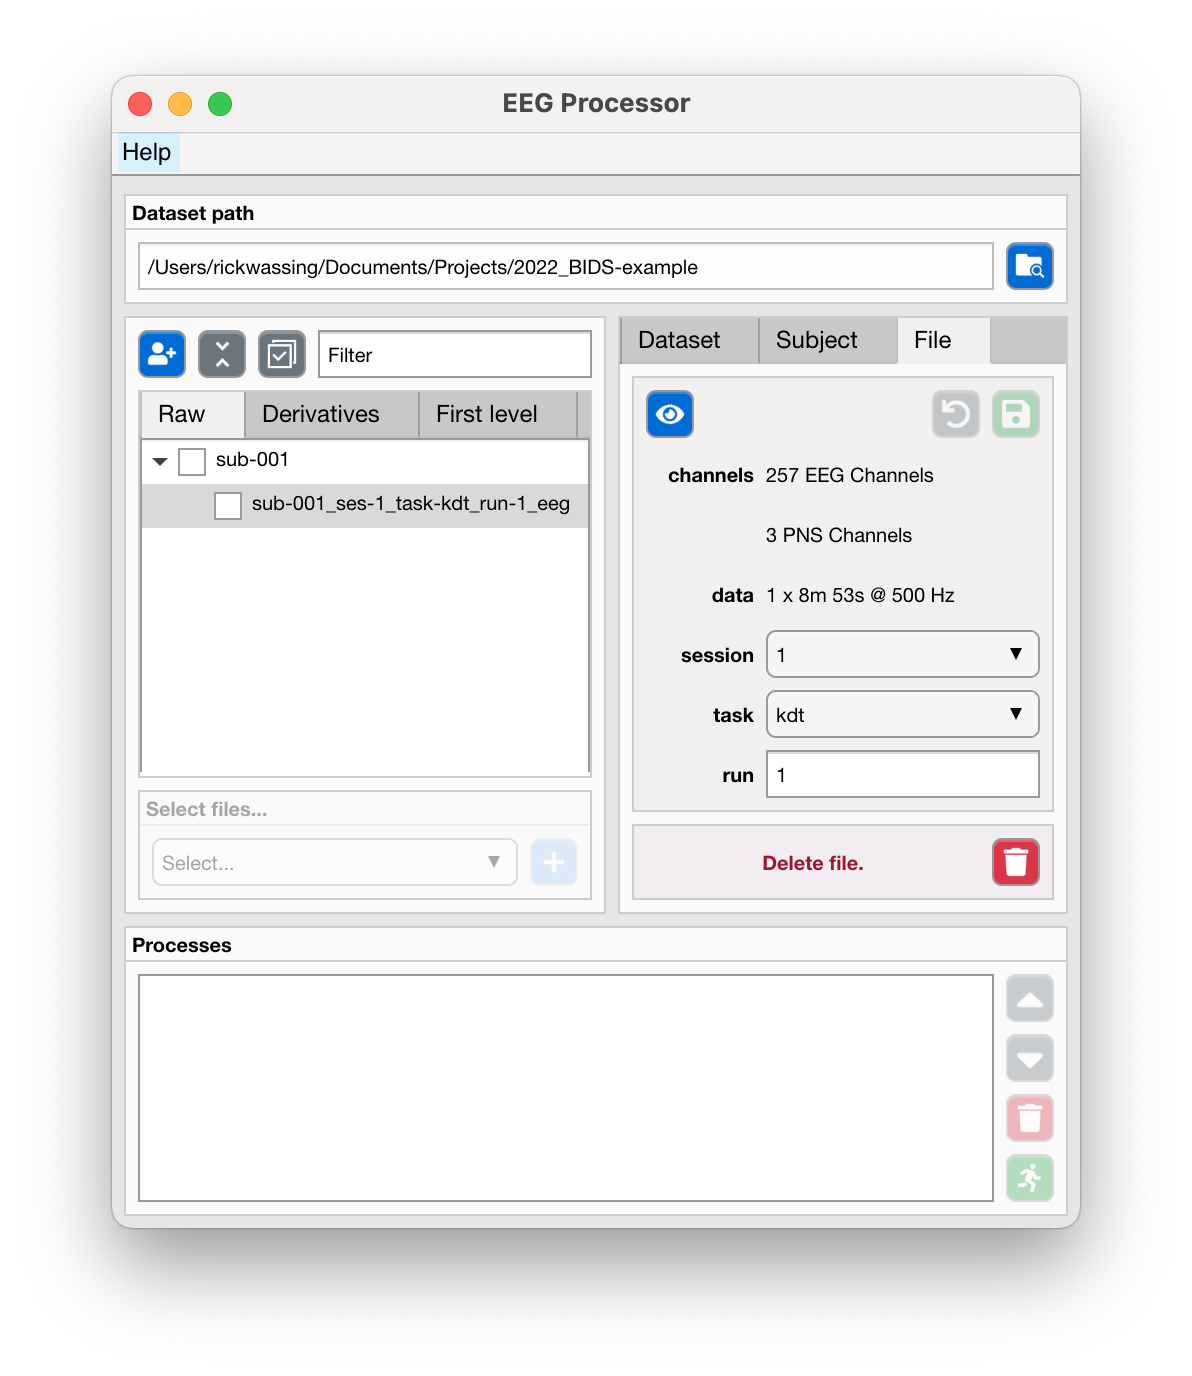
In the middle right “File” tab, use the dropdown menus and the input fields to change the filename. You will notice that the file in the files-tree will now show (unsaved) behind its name.
Use the “Save” button to confirm these changes, at which point the actual file-on-disk will be renamed. Or use the “Undo” button to revert back to the original filename.
Delete a single file
Select a single file in the files-tree in the left center tab.
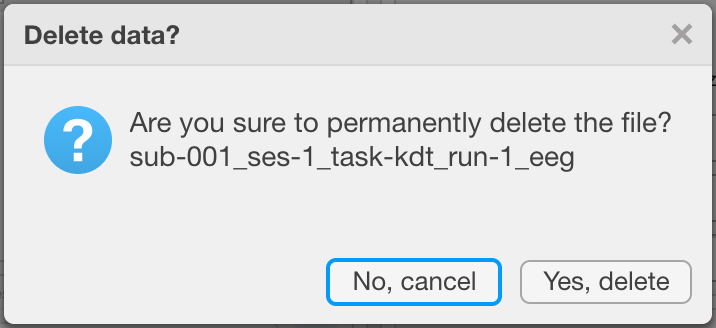
Use the “Delete file” button to delete the file.
A dialog will appear to confirm or abort your action.
Apply processes to files
- Either
Use the checkboxes next to files to select individual files.
Use the checkboxes next to subjects to select all files associated with that subject.
Use the “select all”/”deselect all” button to select all files currently in view. You can change the files in view by entering an expression in the “Filter” input field, e.g.
task-psgwill show all files with that expression in their filename.
Use the dropdown menu in the “Apply processes” panel to select a process you want to apply to all selected files.
Use the “Add process” button to add that process.
Most processes require you to choose specific settings, in which case a new window will open. When ready, click “Add processes”.
All processes now appear in the processes queque. Use the “Run” button to run all processes.